

FINDING THE CALCULATOR
You can find the caulk yield calculator on our website and can access it in two different ways. You can hover over the Resources link in our header and click Caulk Yield Calculator from the dropdown. Or, you can click the Resources link to go to our Resources page and click the caulk yield calculator banner.
CHOOSING YOUR FUNCTION
How much do I need for my project?
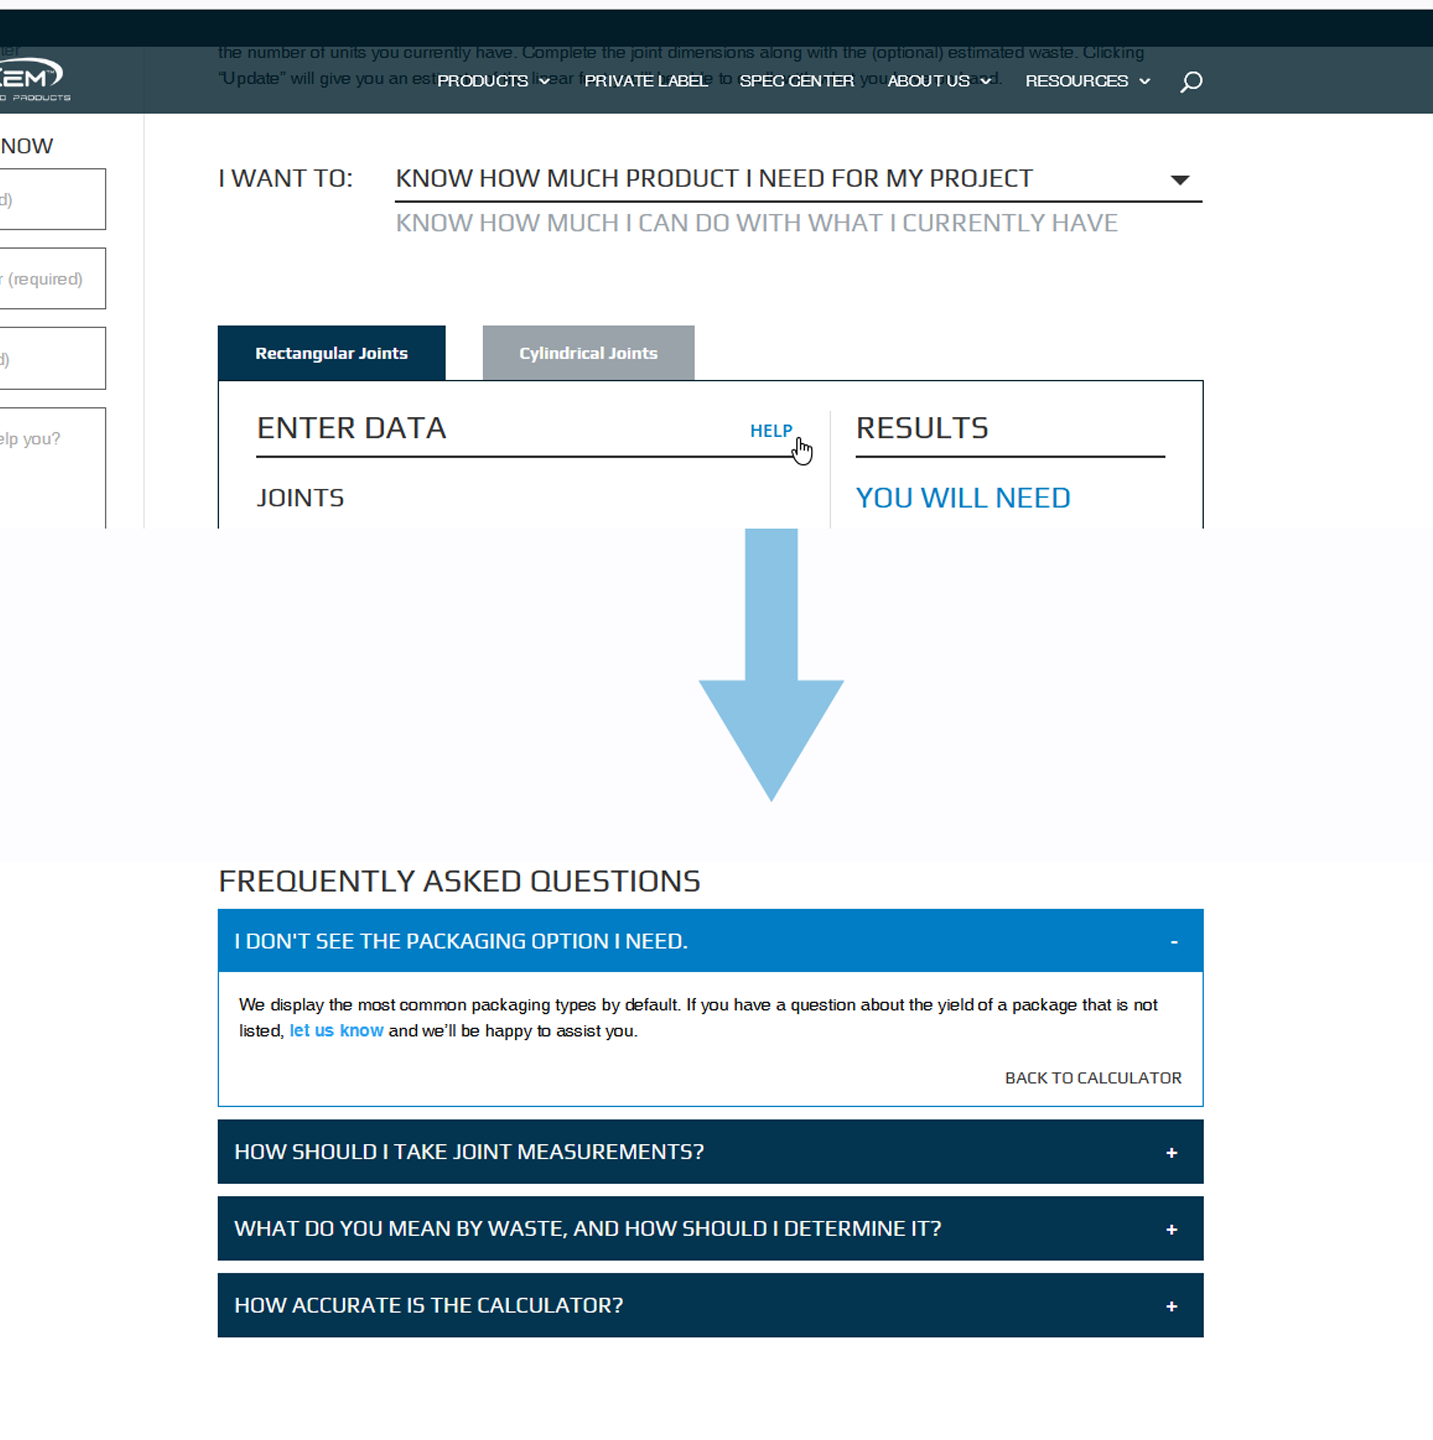
Once you’re at the calculator page, you will see two options: I want to know how much product I need for my project and I want to know how much I can do with what I currently have. We’ll walk through each of these options but will start by selecting “I want to know how much product I need for my project.”

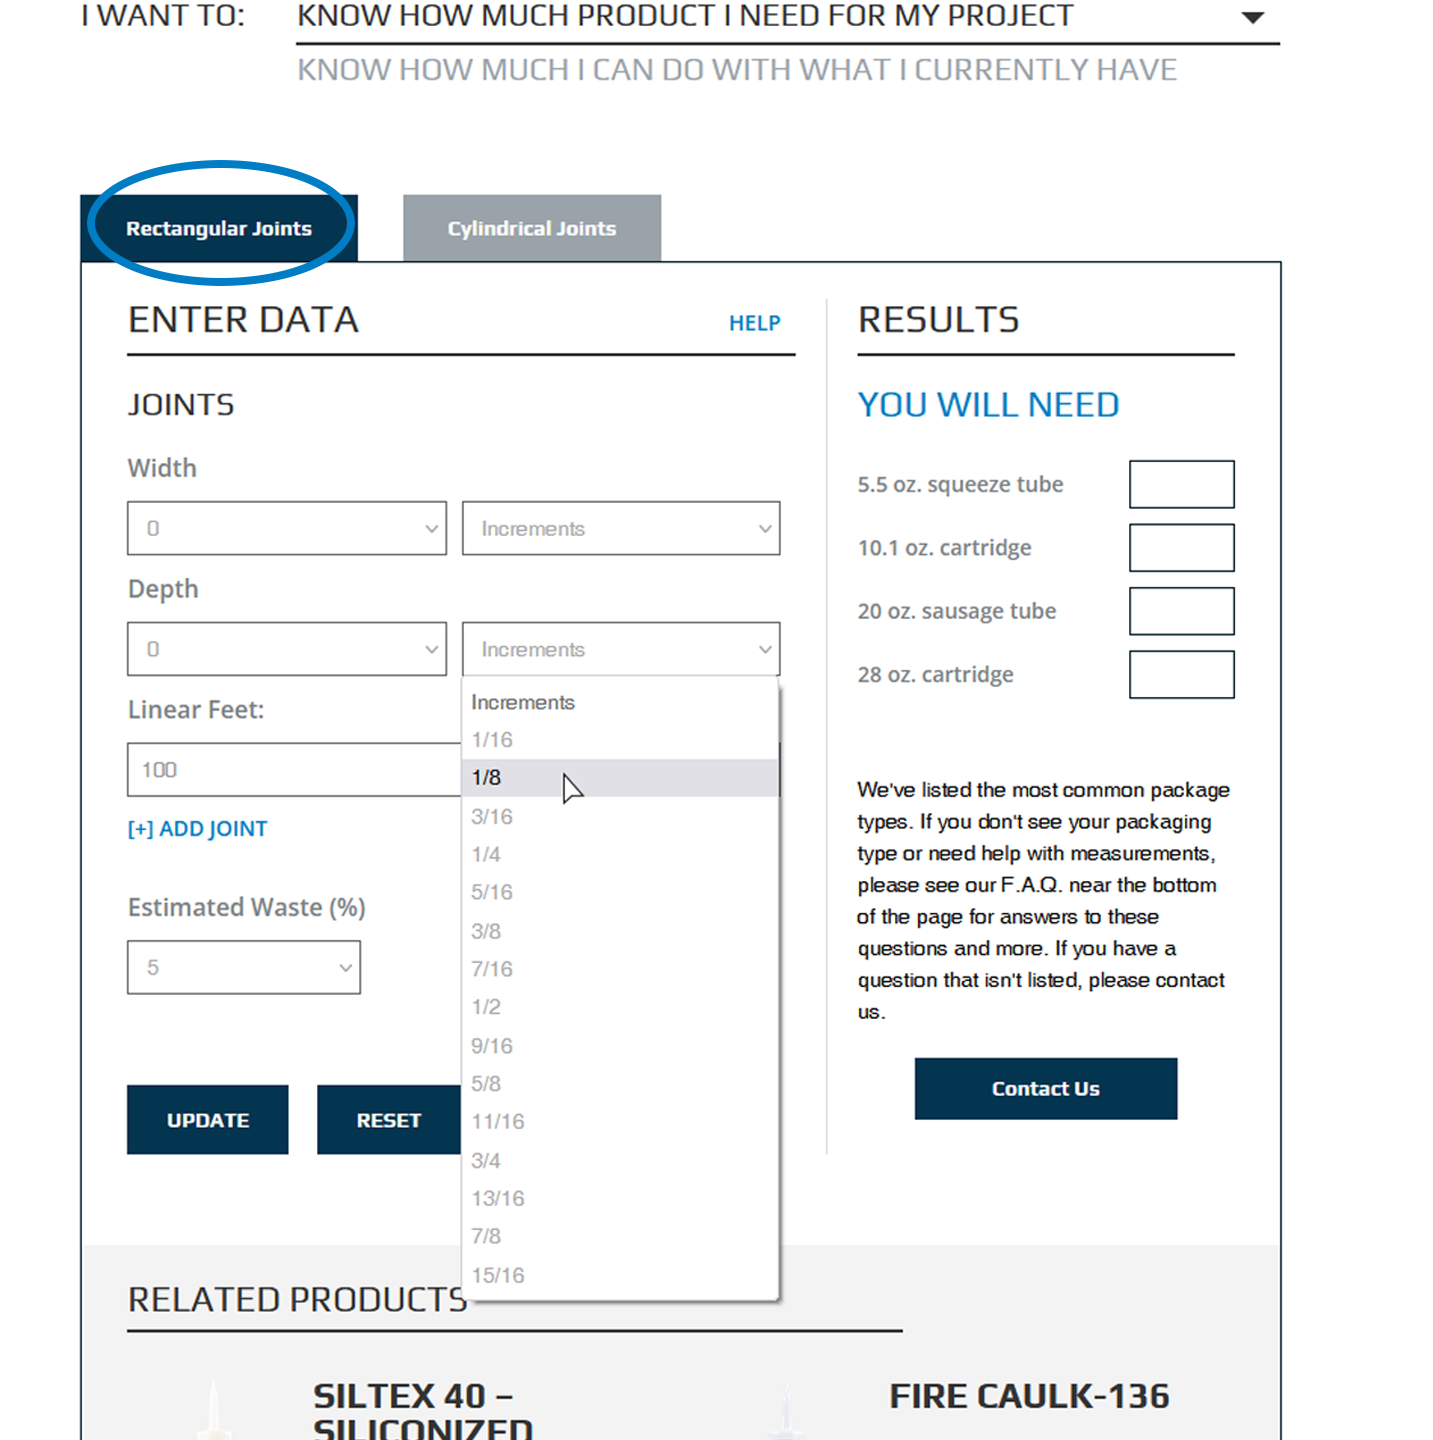
RECTANGULAR JOINTS
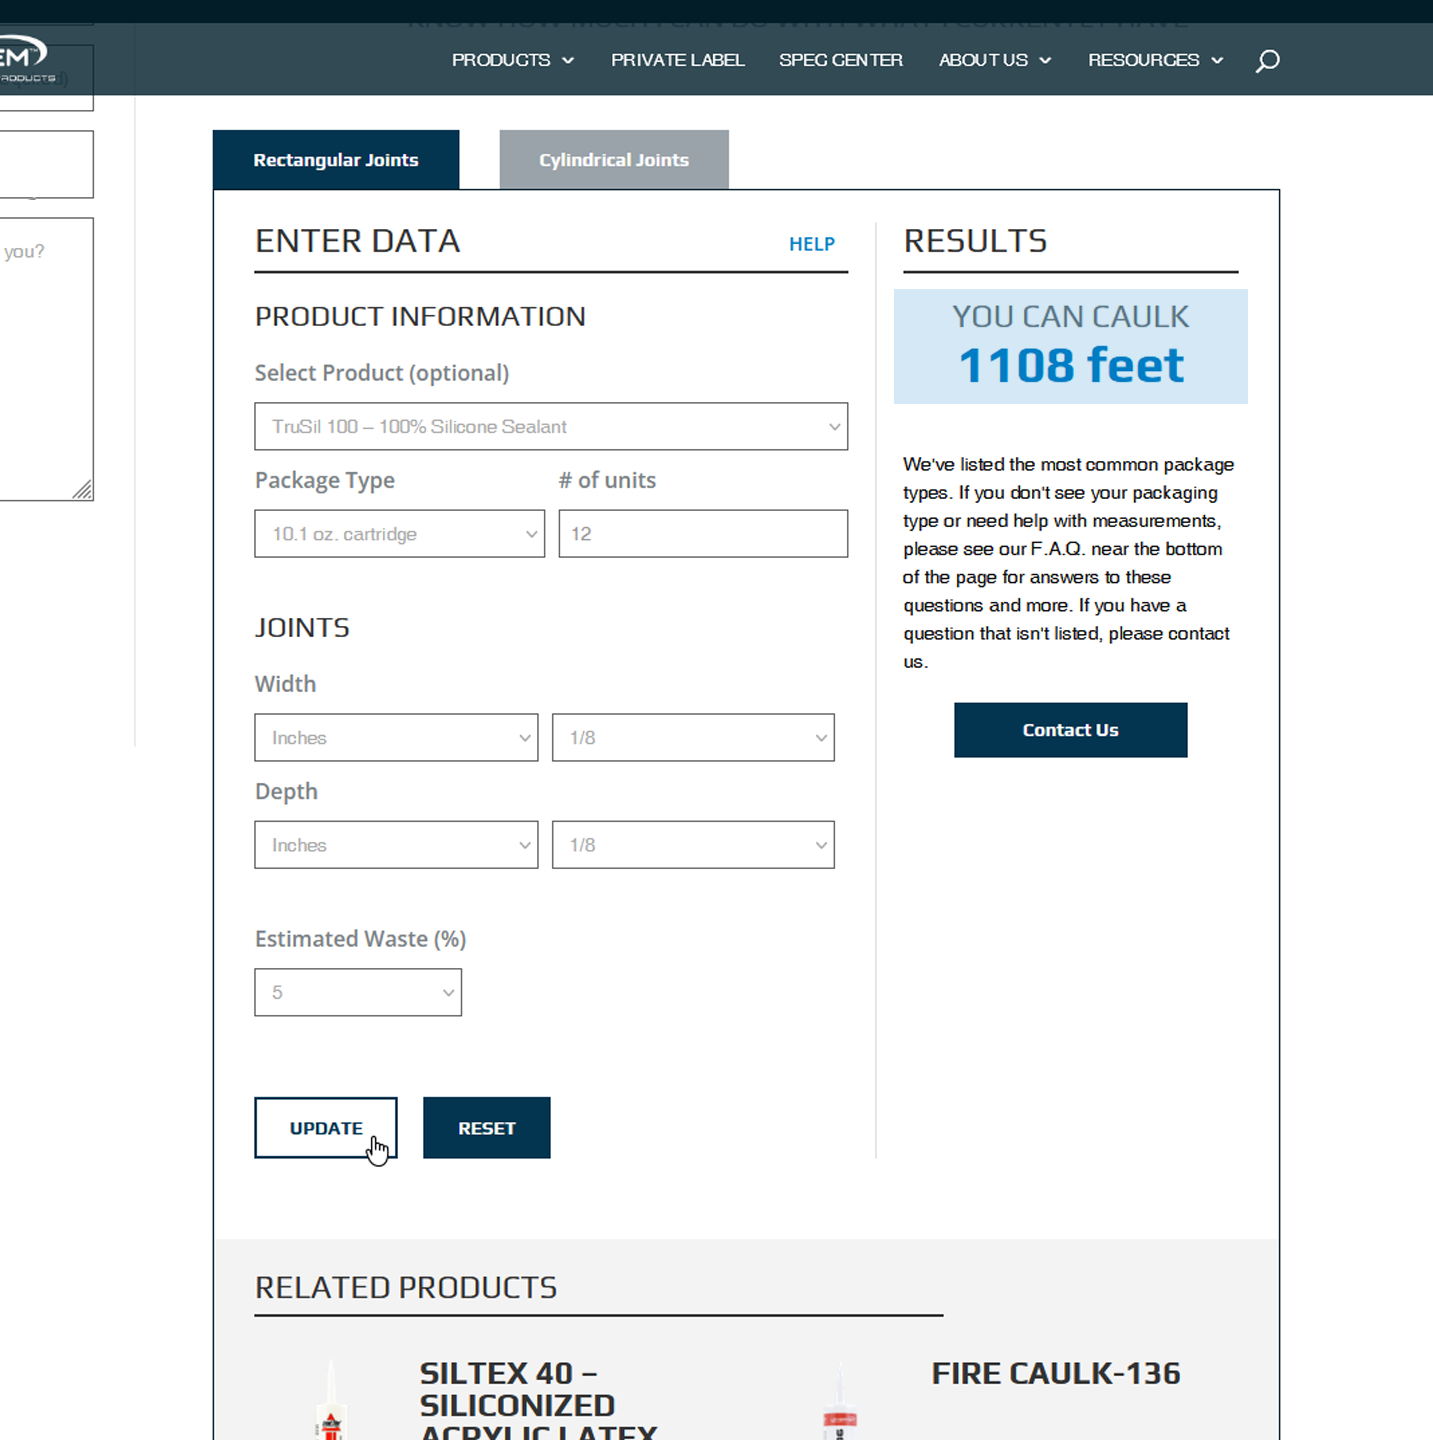
From there, you’ll see two tabs in the body of the calculator, one for rectangular joints and another for cylindrical. Clicking on each of these tabs will bring up a different set of inputs. Start by selecting the Rectangular Joints tab. The tab you’re working in will be dark blue, while the inactive one will be gray.
After you’ve filled in all the fields, click “Update.” On the right-hand side of the calculator, under the “Results” heading, you’ll see some of our most popular packaging options. The estimated number of units of each package type required to complete your project is shown to the right of each option.
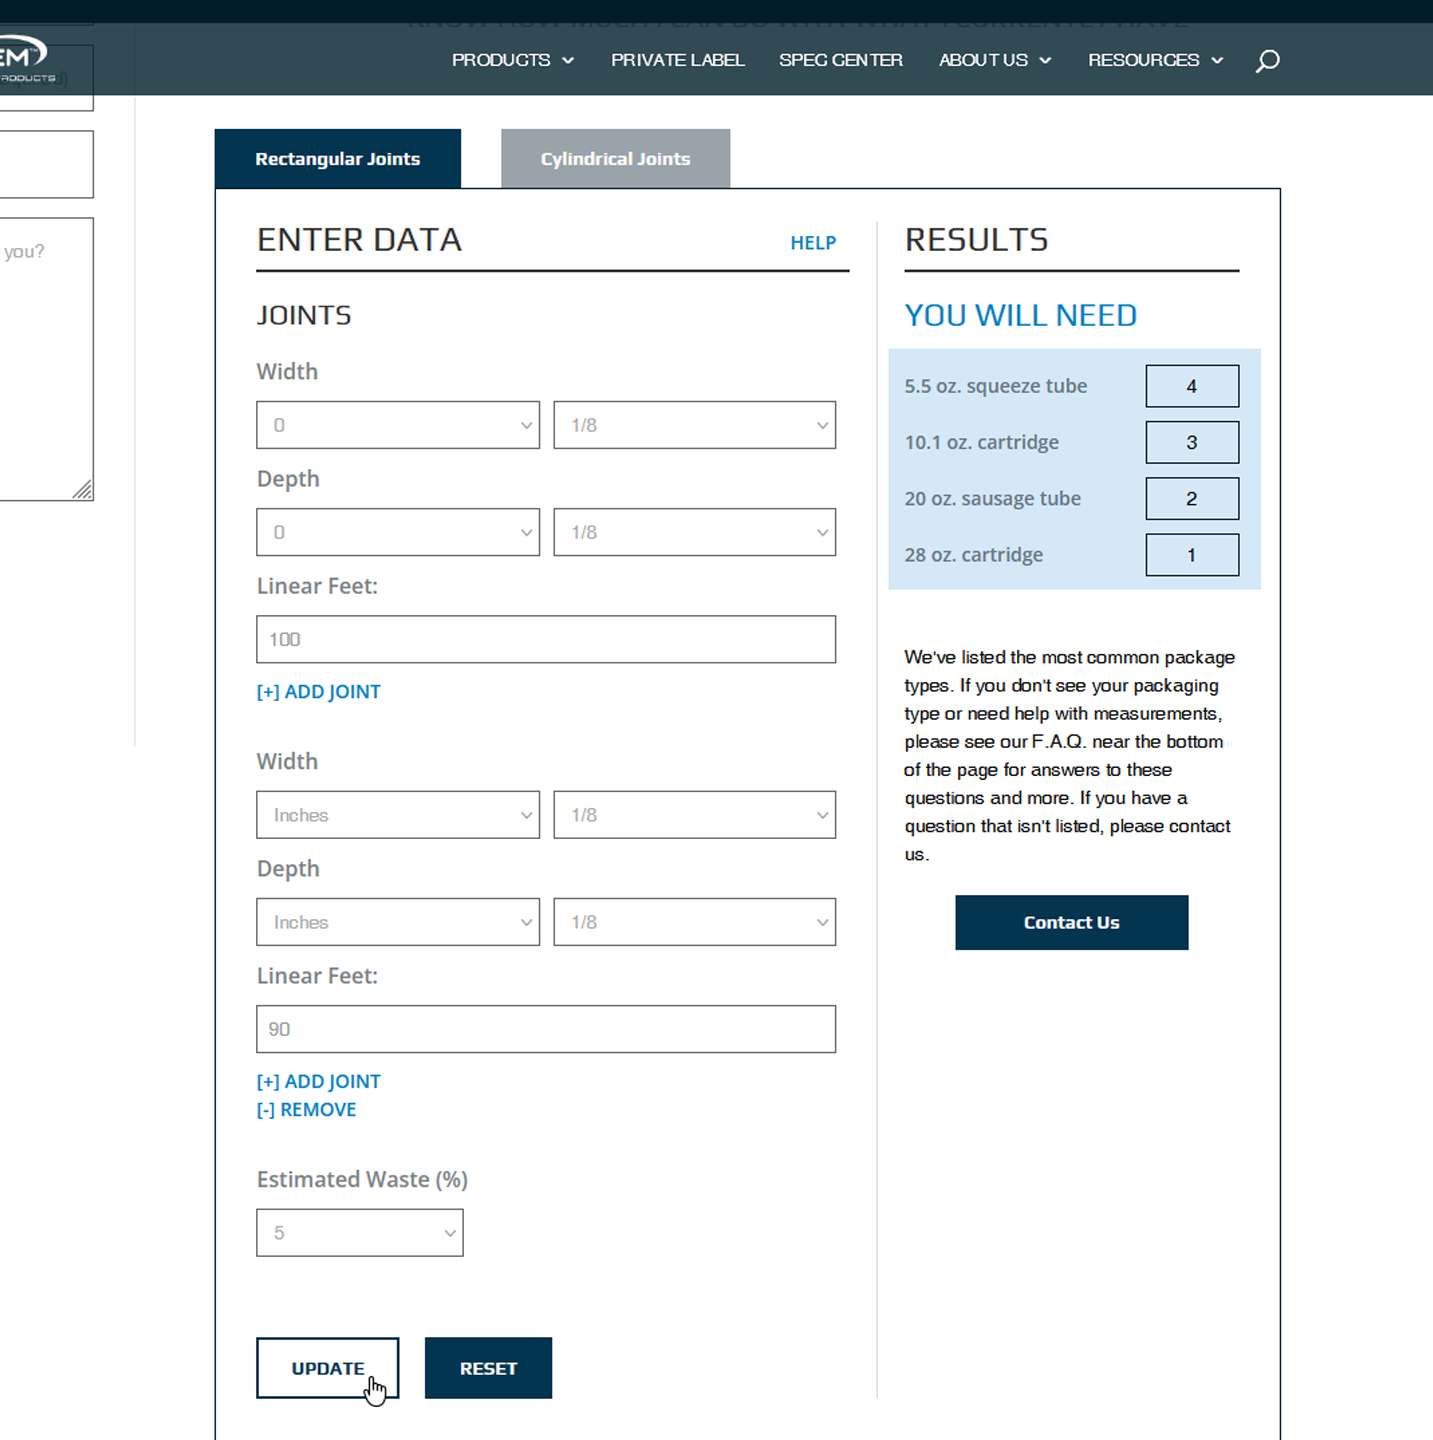
If you need to change any of your inputs, enter them into the corresponding fields and press “Update” again. If you’d like to start over, clicking “Reset” will empty all fields.
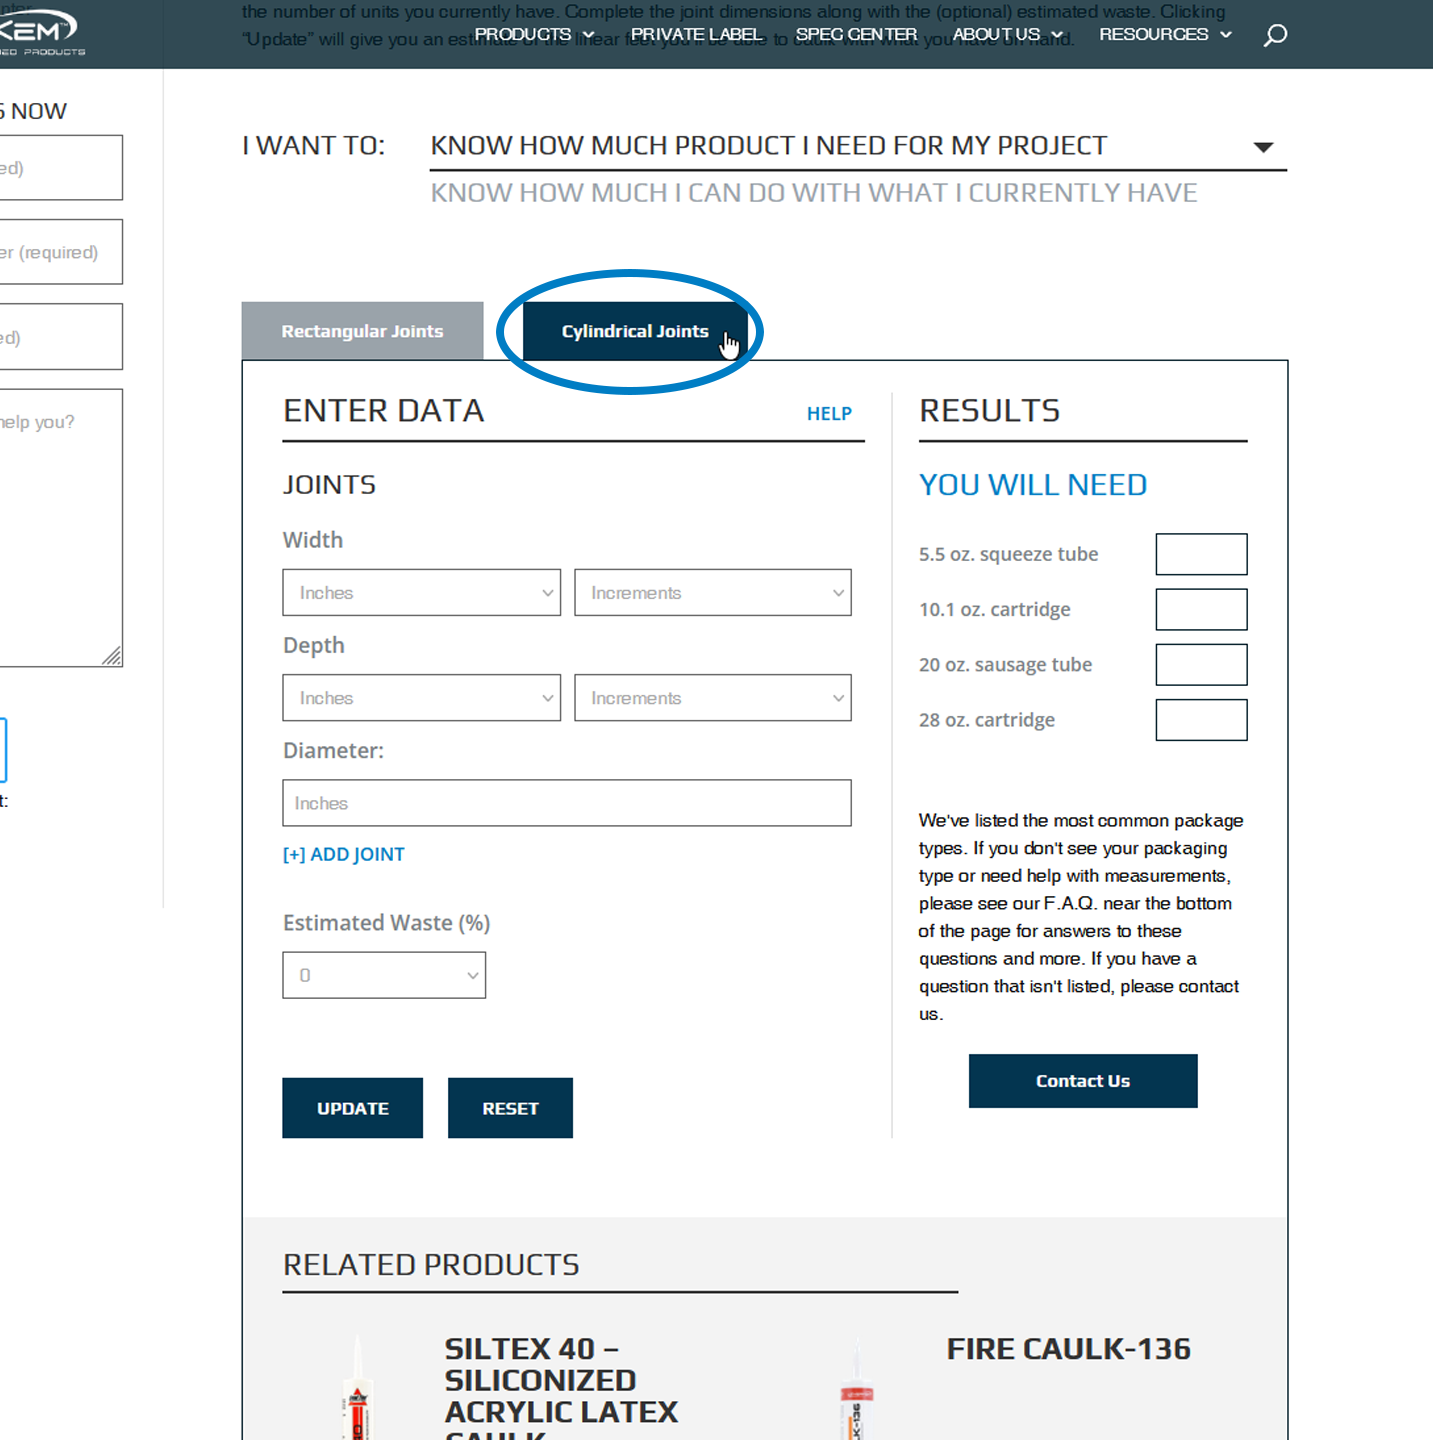
CYLINDRICAL JOINTS
Now, let’s look at the “Cylindrical Joints” tab. Clicking on the tab will highlight it, and you’ll see that all of the fields are the same except for one. “Linear Feet” has been replaced with “Diameter.” The diameter is the distance from one edge of the circle, through the center, to the opposite edge. If you need to add additional joints, remember to click “Add Joint” at the bottom of the input area to populate another set of fields.
Just like when working with rectangular joints, once you’ve entered all of the required inputs, click “Update” to see your results.
CHANGING YOUR FUNCTION
What can I do with what I currently have?
But, what if you already have some caulk on hand and want to use that up first before buying more? In that case, you’ll want to use the second function of the calculator. Click “I want to know how much I can do with what I currently have” at the top of the calculator.
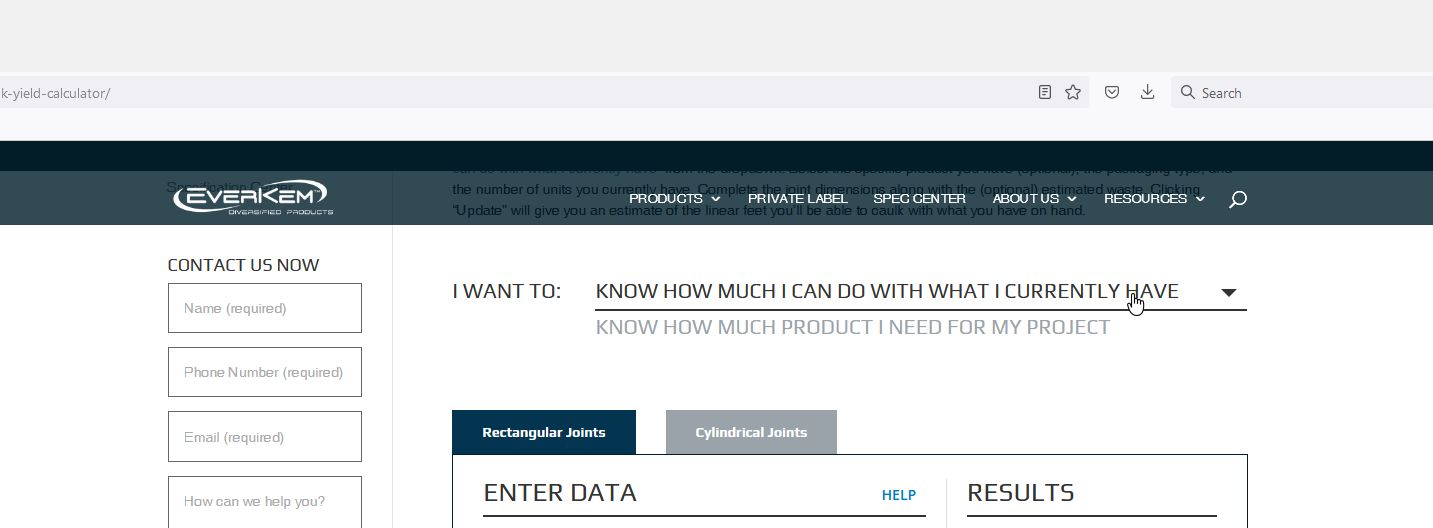
Once you’ve clicked “I want to know how much I can do with what I currently have,” you’ll see a new set of fields appear in the calculator. For our example, we’ll be working in the Rectangular Joints tab – but this function of the calculator works on the same inputs regardless of whether you select Rectangular Joints or Cylindrical Joints.
VIEW FREQUENTLY ASKED QUESTIONS
If you need help while using the calculator, click the “Help” link beside the “Enter Data” header, which will jump you to our FAQ section. This section contains helpful information about taking joint measurements, what to do if the packaging option you have on hand or need isn’t in the calculator, and other common questions.
Now that we’ve gone through the ins and outs of our caulk yield calculator, you should feel comfortable using it to estimate the amount of caulks, sealants, and adhesives for your projects. Keep in mind that these are just estimates derived from lab conditions with minimal waste so your results may vary slightly from what’s shown in the calculator.
It’s also important to know that caulk yield estimation is not a substitute for following building specifications or system diagrams, particularly for fire-rated assemblies and penetrations. System diagrams specify how sealants should be installed, including parameters like fill-depth. When using the yield calculator for specified and/or rated assemblies, always refer to and follow the system diagram’s installation requirements.